The Audio Service is not running error is the most common error in windows. It causes the computer to function without audio. This means when you play media on your computer you won’t hear any sound on your speakers or through your headset.
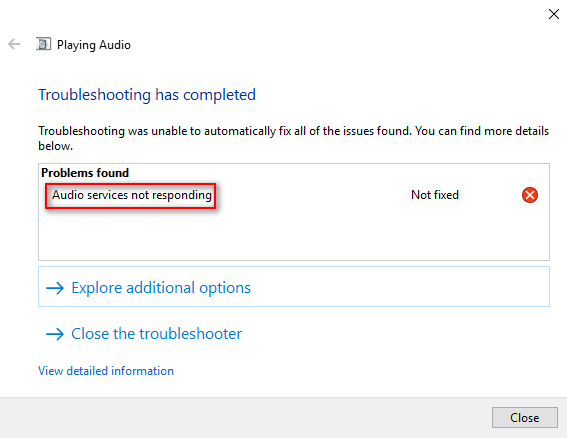
Using a computer without audio is difficult especially if you are going to use it to stream videos, play games, etc. This problem may be due to corrupted drivers, outdated drivers, or even faulty sound cards or speakers.
Related Posts
- How to Fix Windows Could Not Automatically Detect This Network’s Proxy Settings Error?
- How to Fix WiFi Doesn’t Have a Valid IP Configuration?
- How to Fix The Default Gateway is Not Available Error in Windows 10?
Method 1: Try To Increase or Decrease The Volume Of Your Computer
The simplest way to fix this issue is to try increasing the volume of your computer. It may be just a minor glitch with the operating system.
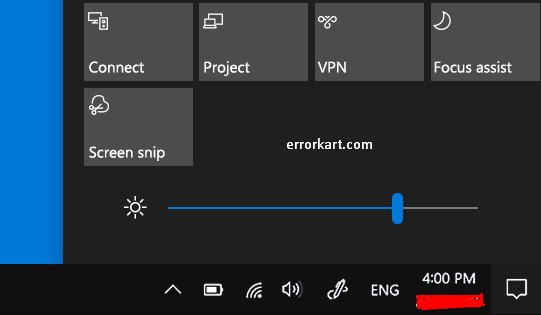
- Press on the speaker logo on the taskbar
- Try increasing or decreasing the volume using the slider
- Try playing music or video to check if the issue persists or not
Method 2: Start Windows Audio Services
Another highly effective solution to this problem is restarting the Windows Audio service. Follow the steps given below to do it
- Press Windows key + R then type services.msc and hit Enter
- Now locate the following services:
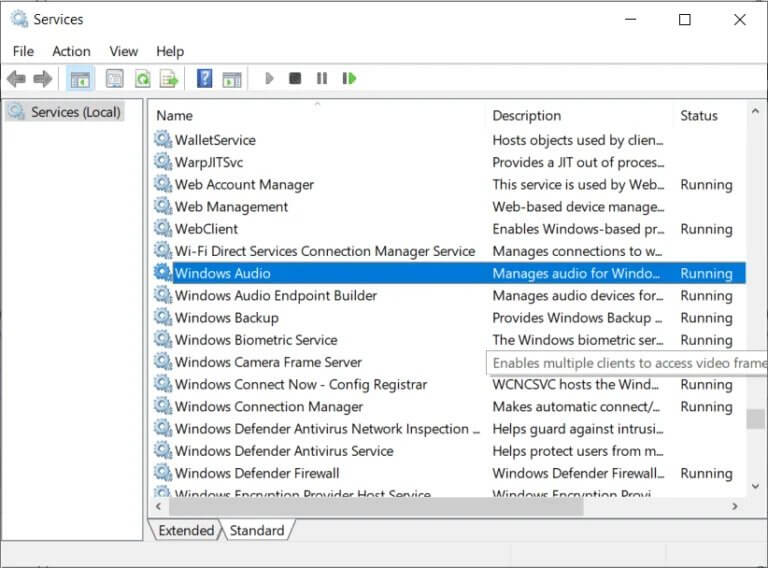
- Windows Audio
- Windows Audio Endpoint Builder
- Plug and Play
- Make sure their Startup Type is set to Automatic and the services are Running, either way, restart all of them once again.
- If the Startup type is not Automatic then double-click the services and inside the property, window set them to Automatic
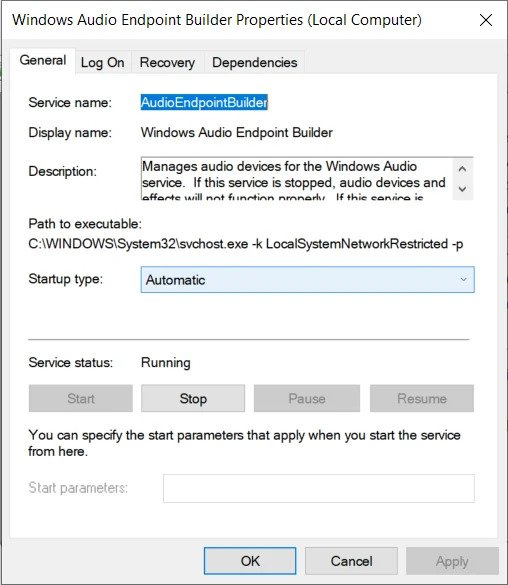
Note: You may need to first stop the service by clicking on the Stop button in order to set the service to Automatic. Once done, click on the Start button to again enable the service.
- Press Windows Key + R then type msconfig and hit Enter to open System Configuration.
- Switch to the Services tab and make sure the above services are checked in the System configuration window.
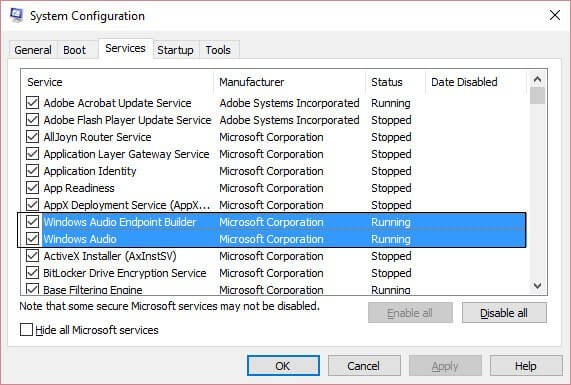
- Restart your computer to apply these changes.
Method 3: Troubleshooting Audio
It is possible that the audio configurations on the computer have been messed up either by manual or automatic changes. Therefore in this step, we will be troubleshooting the audio. For that:
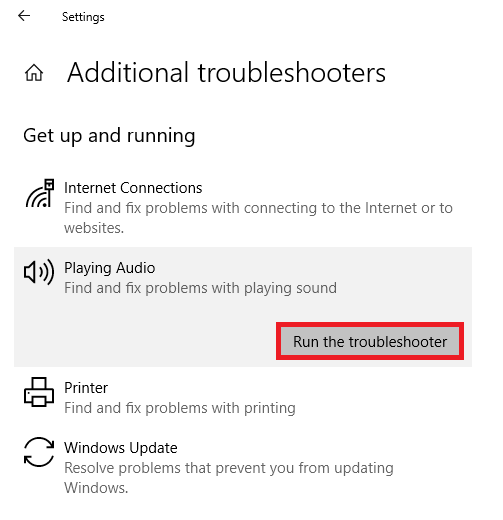
- Press “Windows” + “I” to open the settings.
- Click on the “Update & Security” button
- then select “Troubleshoot” from the left pane
- In the Troubleshoot window, click on the “Playing Audio” and select the “Run the Troubleshooter” option.
- Check to see if the issue still persists after the troubleshooter runs.
Method 4: Use Command Prompt
In some cases, the issue might be triggered if you have messed up with some local account configurations therefore, So we will be executing some commands in the elevated command prompt by following the steps given below:
- Press “Windows” + “R’ to open the Run prompt.
- Type in “Cmd” and press “Shift” + “Ctrl” + “Enter” to provide administrative privileges.
- In the command prompt, type in the following commands one by one and press “Enter” to execute them.

- net localgroup Administrators /add networkservice
- net localgroup Administrators /add localservice
- SC config Audiosrv start= auto
- REG ADD “HKLM\SYSTEM\CurrentControlSet\Services\Audiosrv” /V start /T REG_DWORD /D 2 /F
- secedit /configure /cfg %windir%\inf\defltbase.inf /db defltbase.sdb /verbose
- Check to see if the issue persists after completing these steps
Conclusion
Thus, all the above-given solutions are very effective and after applying them you can easily deal with ‘Audio Service Not Running’ on Windows 10. Also if the problem still persists then contact Microsoft Support to resolve your error.


