If you’re unable to connect to the internet error DNS_PROBE_FINISHED_BAD_CONFIG, which suggests a DNS-related error then don’t worry. You can tell this is a DNS related error from the error message.
When you get this error, the first simple thing you can do is restart the router. No further steps are required. Restart your router and check to see if the problem is resolved. Also If the internet connection is not working properly, or if the DNS server is not responding then this error would occur. Anyone trying to access any website or web portal and you able to access that site successfully in that combination of different factor working parallelly at back end. Many factor include DNS setting, your Internet Connection, Storage and others.
You can also check out other similar errors if you are facing in Windows 10
How to Fix DNS_PROBE_FINISHED_BAD_CONFIG Error?

To fix DNS_PROBE_FINISHED_BAD_CONFIG follow the troubleshooting methods given below:
Method 1: Renew the IP Address
Windows and other operating systems store DNS data in the cache to access the website faster . But if IP address of the website is changed, you cannot access the website and will get DNS related errors like DNS_PROBE_FINISHED_BAD_CONFIG. To fix this error, you can try to flush the DNS cache and renew IP address.
- Press Windows +R hotkey and open the run box.
- Type cmd and click the OK button.
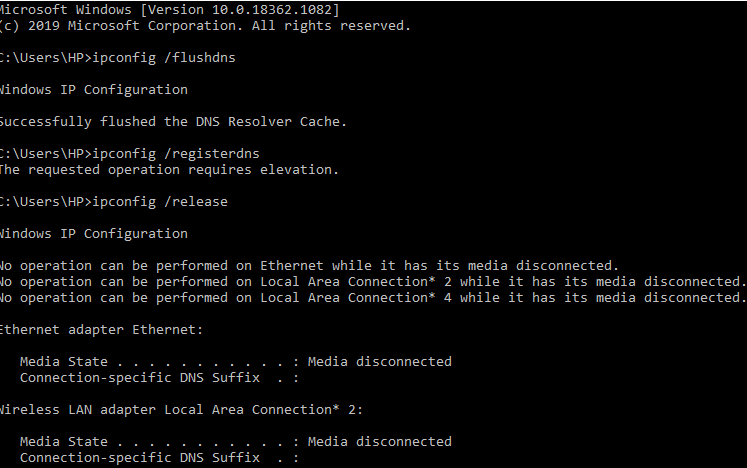
- Type ipconfig /release and press the Enter

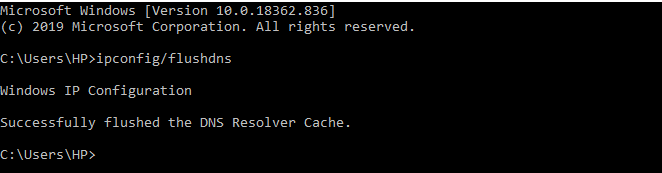
- Then type ipconfig /flushdns and press the Enter key
- Then type ipconfig /renew and press the Enter key on your keyboard again.

- Check to see the error is solved or not
Method 2 : Flush DNS Cache
If there’s a recent change made to your DNS accidentally, your system could be trying to use the local cache to connect to the network. So Flushing your DNS Cache will help you fix the error. So follow the steps given below
- Go the search bar and type “cmd” to open Command Prompt
- Right click on the icon and select “Run as administrator”
- Now type the following commands separately in the command prompt and press Enter after each line
- ipconfig /flushdns
- ipconfig /renew
- ipconfig /release
- ipconfig /all
- Now restart your computer and try to visit some websites again.
Method 3: Clear Browsing Cache and Data
Sometimes, it’s a corrupt cache that’s causing the DNS error. In such situations, the best solution is to clear cookies and browser cache. So follow the steps to clear it

- Open your Google Chrome Browser
- Press Ctrl + Shift + Delete
- Set the time range to All time
- Now select the cookies and other sites data and cached and image files options
- Click on the Clear Data button to clear your browsers cookies and cache
- Lastly, try access to check if the issue is solved or not
Method 4: Reset Google Chrome to Factory Settings
This step is for Google Chrome users only. If you are using any other browser such as Firefox or Opera, you may want to contact support forums to see how to reset your browser.
Resetting your browser resets many different settings and it may solve your problem magically. Here are the steps to reset your Chrome browser.
- Open your Google Chrome Browser
- Click on 3 vertical dots in the upper right corner of the screen and click on Settings
- Scroll Down and click on Advanced
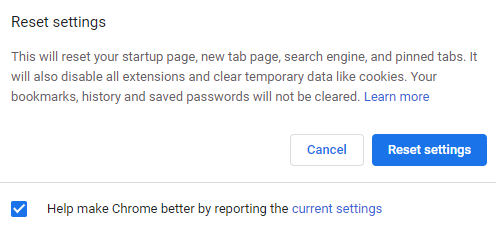
- Now click on Reset settings to their original defaults
- After clicking a pop-up screen will open, click on the Reset button
Method 5: Restart Your Network Setting
Restarting Network setting may effectively work to resolve this error, as this method will allow you change TCP Setting. So, Network setting restart will not only erase current setting but also implement newer setting that could help to solve error. To Restart Network setting you can simply follow below steps:
- First You need to Navigate Setting For that Right Click on Window icon
- Then Click on Setting Button (position below Task Manager)
- Once you Click on Setting then Windows Setting will open
- Under Windows Setting find Network & Internet
- Under Network Setting you need to Choose Status button
- Under Network Status you have Reset Button
- Just hit Reset Button and you ready to go
Reset Button is important in above method, as this method will allow you to reset Network and Configuration setting. While following this process you need to be extra careful.
Method 6: Assign Global DNS Server
This solution recommended or suggested on Microsoft official forum by Community moderator, as assigning global DNS server could solve this issue permanently.
- First You need to open Run dialogue Box & to open Run use shortcut Windows Button + R or Simply search Run in Windows search box
- Once you open Run Box you need to type command ncpa.cpl and press Enter button
- Then you need to Navigate Network Setting and then go to properties tab
- From Properties select Internet Protocol V4 (TCP/IPv4) again click on Properties
- To set custom DNS Server just select or Check Radio button of option Use The Following DNS Server Address
- Set Preferred DNS server with value 8.8.8.8
- Set Alternate DNS server with value 8.8.4.4
- Then just save setting using ok button and simply close box
DNS_PROBE_FINISHED_BAD_CONFIG Windows 11
For Window 11 you have use any solution we mentioned above, as we recommend you to use Method 6 or Method 1 because it has higher success rate as compare to other.
Conclusion
I hope these above given solutions will help you t fix your DNS_PROBE_FINISHED_BAD_CONFIG error in Windows 10 and if the problem still persists then contact Microsoft Support to resolve your error. If you don’t want to follow above solution then simply switch to different browser like Mozilla Firefox, Opera or other. Reset Network setting and Assign Global DNS solution method are provided from Microsoft officials, so you can this method with any risk. however, Resetting router setting still one of the option but not recommended as permanent solution. many user reported that router reset only solve this issue at temporary level.